Friday, April 28, 2017

Hatching Chickens Outside Their Shells


At the end of the school year last year, one of my students sent me the video of the Japanese students who hatched a chicken in a cup with plastic wrap and no shell.  It looked fascinating and used readily available materials. I decided that we'd give it a try this year when we got into embryonic development.


I did some research and found a couple of helpful resources, one from the Cooperative Extension of the University of Connecticut and one from a text by Cynthia J. Fisher.  We did a slight modification of the procedures to compensate for using an oven. It's really a drying oven that the Chemistry and previous AP Bio teacher figured out where to turn the knob to keep it at 37ish degrees Celsius for the bacteria labs we do.  I pre-heated it on Monday so it was at 38 degrees Tuesday morning.

Note the duct tape holding it shut since we have it a little over-full.


There are several school families who keep chickens. A couple of them have roosters and were more than willing to provide us with fertilized eggs. This past Tuesday, we put the eggs in our "incubator". We added a few more to the incubator on Wednesday--long story, involving an extended school bus ride. =)


After incubating for two and a half days, we cracked the eggs during our Thursday afternoon lab. The yolk of the first egg broke in the process, then the next was rotten. (We had been warned about that potential because of finding some rotten eggs by the "brooding" chickens.) One more broken yolk, and then we had success. I think it helped to have to repeat the process since students got more comfortable with it as we went.  In the end we cracked open a couple of extras and took two videos of hearts beating that we could see. We put them into their "cup homes" for the duration of their development.


To make the homes for the chicks, we used Styrofoam coffee cups, poked a pencil hole in opposite sides of the cup, poured water into the cups up to the pencil holes to provide extra humidity, placed cheap plastic wrap (in hopes the cheap stuff would be more "breathable") over the cup and pushed it down to form a sling, held it in place with a rubber band, and covered it with the bottom of a petri dish.  Eight cups is a tight fit in our little oven, so not all of the petri dishes set well, but so far it appears to work OK.


Today, we checked our chicks-in-a-cup and were amazed by the embryonic development occurring in just under 24 hours!  If I had to guess, students would say it was one of their favorite labs.  And we're hoping it will continue for at least a week, maybe more. The students are voting for all 21 days of course. When we finish, for their lab reports, students will put together a movie of the process. I've included a video of what we've done so far.


Thursday, April 6, 2017

Floor Bingo in AP Biology


On Thursdays I have my AP Biology class for a triple period--which gives me two hours with them. This is fantastic for those long labs. We have time to set up, run, and clean up the lab. But this 2 hour class is in the afternoon-the last three periods of the day in fact. I have students come in sometimes with their energy levels so low I feel I need a spatula to scrape them off the desk. I could start each Thursday with a quick Kahoot! which this class is obsessed with, but I wanted something different to get them excited and MOVING if at all possible. As I perused Pinterest, I saw something about BINGO. Our classroom floor tiles are squares, and our room is big enough (if we move the tables) for two 5x5 BINGO squares.


I used Google Slides to make 25 labels--one for each square of the BINGO board.  I kept the labels generic (true, false, A, B, C, D, etc...), so I could use them with whatever topic we're working on. Then I just have to change the questions if I want to use it again when we're in a new unit.  I'll laminate them to help them last longer too.


When I made the questions, I included two copies of each question, and after cutting them all into strips, I paper clipped matching questions together. This way, students will take turns picking a question out of a hat and will have one copy of the question for their team and one copy for the other team.  Each team will lay the question on the square they believe is the answer to the question.  That way, when a team calls, "BINGO!" I can quickly check the questions and answers. It will also allow for discussions about any missed questions.

Here's the file I created for the floor tiles. And this is the set of questions I made for the evolution BINGO game. I also made a set of questions to review for our ecology unit.

We finally did this today in class.  We did it for the last 25 minutes of our two hour class and the students stated active and involved the whole time. =)

Saturday, April 1, 2017

Transpiration Lab for AP Biology


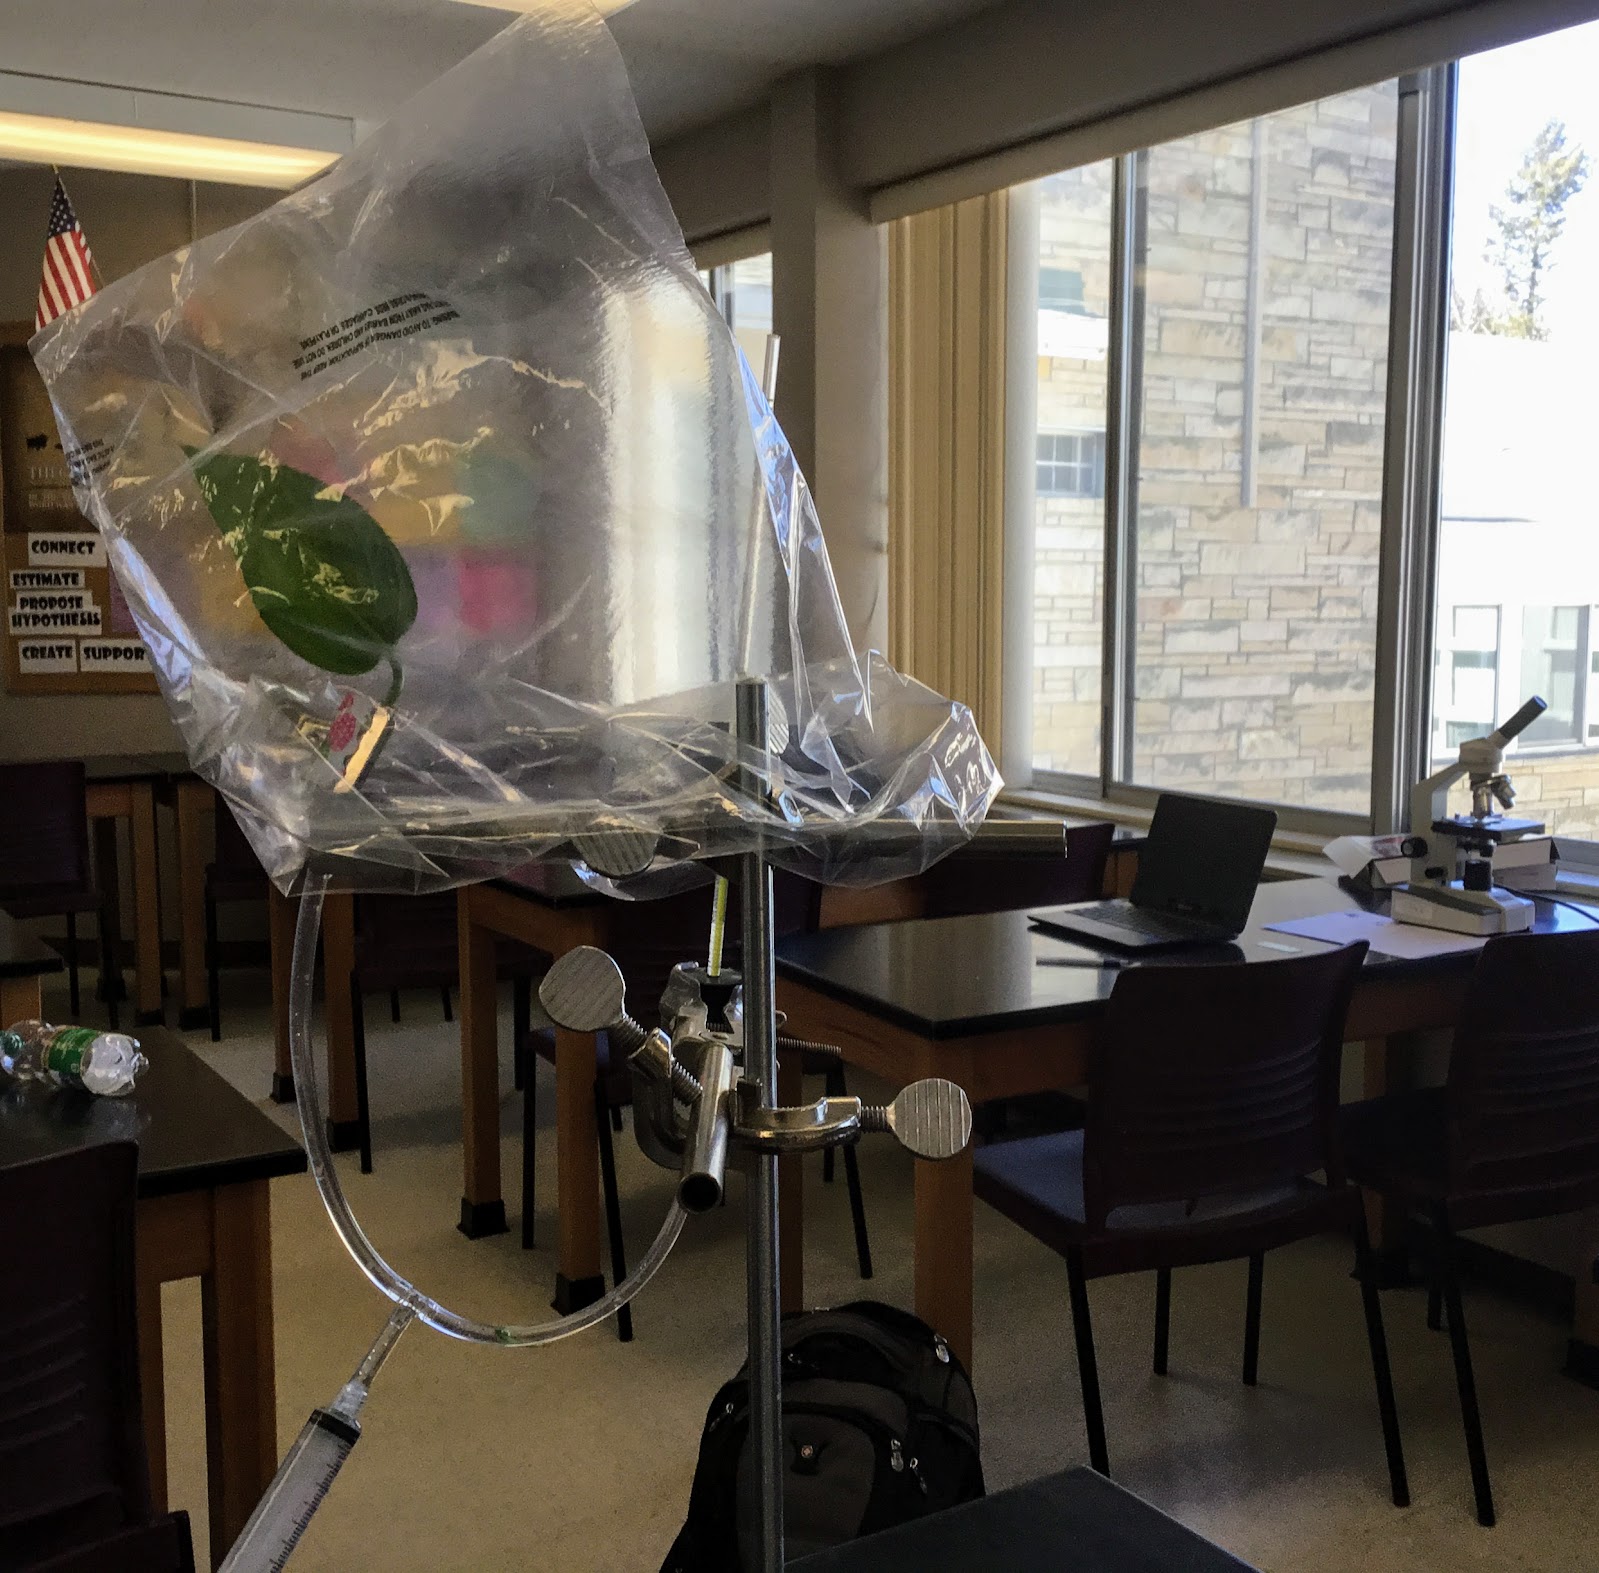
Our Transpiration Lab last year was a disaster in my humble opinion.  Our key problem in putting together our potometers was getting an airtight seal of the tubing around the stem of the leaves.  This year we solved the problem of the airtight seal by using a leaf with thicker stems--Pothos.  I had read on the AP Bio forum about teachers using special clips to help keep the seal airtight, but didn't have enough time to find and order them before the lab.  We added a binder clip to the tube where the stem came in.  I'm not sure if the clip actually helped, but the connection there did remain airtight throughout the experiment.


 I did the control conditions and got decent readings, but measured for 42 minutes, which turned out well, since I forgot about the 10 minute wait period to allow it to equilibrate (trying to do the lab from memory). Unfortunately, I have allowed my students to also be sloppy about reading directions since I often will give them verbal instructions to help them get going. Next year, I am planning to make it a practice to give minimal directions and let them read and figure it out more independently.  If I want them to be independent learners, I need to help them in that direction. The lab group testing bright light also had movement of water in their potometer, but not our fan or high humidity group.  None of them waited the 10 minutes before measuring.


I wonder though if our Pothos plant doesn't have a high enough density of stomata to get decent readings from the potometer in 30 minutes (all groups measured about 15.5 stomata per mm^2). I may try a different thick-stemmed plant next year.

I gave them some data afterward so they would still have practice making and reading graphs. 

I know we could move to the whole plant method of measuring transpiration, but we only meet for three block periods a week, Tuesday through Thursday, which makes it a challenge to take readings everyday for a week.

The directions the students use is a version adapted from the College Board's AP Biology Investigation 11 Transpiration lab.  It really isn't an inquiry lab the way we do it, but I like the thinking and math that is required in this lab.

Here's the Transpiration Lab version I use with students (minus the links to our google sheet).

Sunday, March 26, 2017

Unit 10 Reading Guides-Human Form and Function


The last set of guided reading questions has been updated and is ready to go. The end of the year is in sight. I'm excited, since this year we'll actually finish the AP Bio curriculum by the exam. This means we get to do a fun (in a morbid way) Ebola unit for the last three weeks of the year. Anyway, for the human unit we focus on the nervous, endocrine, and immune systems and embryonic development. I'm going to try the Pom-Pom Potential activity from Learn Genetics Utah and possibly Jumpin The Gap. Then we'll look at the Nerve Cell Communication activity from the Life Sciences Learning Center of the University of Rochester. We also do a fun lab looking at circulation in goldfish tails and the effect of epinephrine on the circulation. Still looking for a good immune system lab or activity.

Chapter 40 Guided Reading-Animal Form and Function
Chapter 43 Guided Reading-The Immune System
Chapter 45 Guided Reading-The Endocrine System
Chapter 46 Guided Reading-Reproduction
Chapter 47 Guided Reading-Embryonic Development
Chapter 48 Guided Reading-Neurons, Synapses, and Signaling
Chapter 49 Guided Reading-Nervous System

Now that I've finished updating these reading guides, I'm hoping to make a page that includes all of these guides...soon.

Tuesday, March 14, 2017

Termites and Experimental Design


This week both of my classes (high school level Biology and AP Biology) did a termite lab.  I love both of these labs. In general, I'm not a big fan of bugs.  Dissecting grasshoppers grosses me out. But termites--I just tell myself they're little white ants. Fortunately, you are supposed to avoid touching the termites, so we use paintbrushes to move them around. No complaints here about that! They're pretty low maintenance too. I order a 25 pack of worker termites from Carolina. Both years I've ordered them, Carolina has been generous with the termites, and we've had at least 40 in the package.


In HS level Biology our termite lab is part of our evolution unit. This lab emphasizes the adaptations of the termites and how that helps them to live to reproduce--increasing their fitness for their environment.  But to me, the real emphasis of this lab (and AP Bio's) is experimental design. For my middle school/high schoolers this lab provides a whole lab period of design/evaluate/redesign.


Each lab group starts with a petri dish with a piece of paper that I've instructed them to draw a closed shape on with a Paper-mate red pen.  I give them three termites and have them observe for a few minutes. Then they must decide on a hypothesis about why the termites behave the way they do and test it.  Before they test the hypothesis, they write out the independent and independent variables and the controls they will use so they are only testing one variable at a time.  Then students carry out the experiment and observe.  After observing for a few minutes, more questions arise and a new or updated hypothesis is formed.  The process repeats. Our goal is at least 4 hypotheses tested.


Each time they go through the process, they start to see how their design can be improved. We can talk about how scientists in real life are continually working to improve the design of their experiments and fine tune their hypotheses.  The process gets them thinking in a different way than cook book experiments do.  For many labs, this process just takes too long, but this one goes fast enough and is simple enough to refine several times in one period.


In AP Biology, this is our animal behavior lab.  In this lab, we also discuss taxis and kinesis. We start the same way as the other lab, with the petri dishes, but then they have to develop a hypothesis to test using the choice chambers.  They also have to perform a chi-square analysis for each set of results to determine if random chance brought the termites to the chambers that they went to, or if some other factor was in play. We had some great discussion about experimental design with one group who was testing different colors of pen.  After their first trial, they realized that maybe the shapes were too far away from each other for the termites to even realized there was another side.  Their second round included drawing the shapes closer together. They improved on their experimental design.


The source of the idea for this lab came from the book, Biology Inquiries: Standards-Based Labs, Assessments, and Discussion Lessons by Martin Shields.  I developed a sheet that I give my HS Biology kids and then I also outlined requirements for a lab report for my AP Bio kids. I'll include both below.


Animal Behavior Lab for AP Biology

Sunday, March 5, 2017

Unit 9 Reading Guides--Ecology


We are coming up to our ecology unit soon, so I've been revising our guided reading notes for this next-to-the-last-unit for the year.  We actually start this unit with animal behavior and I pull out the termites for us to experiment with. This unit also includes estimating population sizes--with a fun capture/recapture lab with "bean" organisms.

Here are the guided reading notes by chapter.

Chapter 51: Animal Behavior
Chapter 52: An Introduction to Ecology and the Biosphere
Chapter 53: Population Ecology
Chapter 54: Community Ecology
Chapter 55: Ecosystems and Energy
Chapter 56: Conservation Ecology and Global Change

Thursday, March 2, 2017

The Great Clade Race


Last year I went to an AP Biology workshop and the presenter shared several resources with us.  One of the resources was The Great Clade Race by David W. Goldsmith. This activity first appeared in The American Biology Teacher, 65(9):679-682. 2003. Here is one link to that article. There are several other resources associated with the Great Clade Race here. Our presenter also shared a set of student questions for the students to use as they walked through the activity.  I reworked that sheet to better flow with my class.  Here is my adapted version of the student sheets.


Each student lab group receives a huge piece of paper, a set of markers, and a set of racer cards that have been stamped along the pathway they take in the race.  Students use the cards to determine what path each racer took to get to the finish line. I encourage each group to plan their race course out on scrap paper first, and then move on to the big paper when they're happy with their map.  Initially, students tell me this is impossible, but after some struggle, they all figure it out.  All the lab groups draw the race out on their huge sheets of paper and we compare them.  At first they exclaim that theirs is different from another, but then they realize the paths are just rotated around a branch point. This leads into the understanding that cladograms can pivot at branch points and still be the same cladogram.


Once they're feeling fairly confident in their cladogram skills, we add another racer--who of course doesn't easily fit within the original paths of the race.  Eventually, they figure out that they have to draw in a checkpoint a second time to get him out of the race--an analogous trait!


Then we're ready to move onto classifying organisms, and so they move onto their clade critters.  In this part they also make a table comparing the characteristics and use it to help them make their new cladograms.  I love how this lab pulls in so many concepts in a step-wise manner.